Step-by-step: How to live stream a Zoom meeting to YouTube
This article guides you through how to stream a Zoom meeting via YouTube for webinars or other live virtual events. It outlines how you can use the powerful functionality of Zoom alongside the unrestricted options and benefits of YouTube.
In order to stream from Zoom to YouTube you will need to:
Why stream from Zoom to YouTube?
Zoom has inbuilt video encoding and presenting functionality to enable easy video sharing without specialist hardware. Other software is available for this, such as Open Broadcaster Software (OBS) but isn’t as intuitive to use and has a steep learning curve. However, areas to consider around Zoom are:
- Some users have had difficulty downloading and using Zoom to watch webinars and may have privacy concerns
- Zoom Pro accounts have a limit of 100 attendees
- There is an additional cost to the meeting organiser for the Webinar add-on for view-only attendees
The benefits of streaming a Zoom meeting via YouTube for attendees to watch it include:
- It has a built-in chat facility for 2-way live communication
- Unlimited view-only attendees, there is no cap
- Users most likely have the YouTube app installed already or are familiar with the web interface
- The recording is automatically saved for you if needed to edit and publish afterward
Note: A YouTube account needs 24 hours to activate live streaming for the very first time you use it. Do a test run in advance of your actual webinar.
Enabling Live Streaming in Zoom
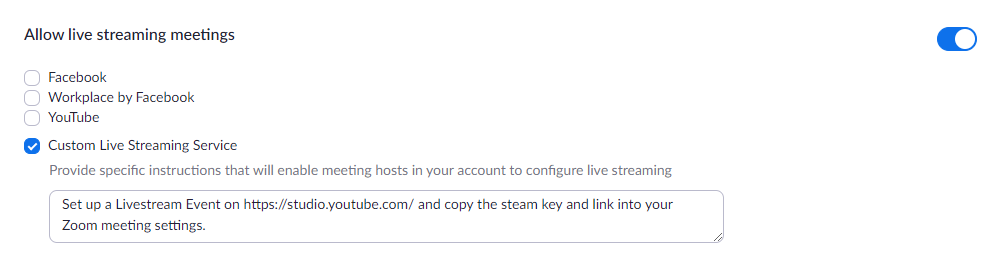
In the Zoom account settings scroll down to In Meeting (Advanced) section to Allow live streaming meetings. Toggle the button on the right to turn this service on.
There are four options given in this section. The first three are if you want to be able to stream any meeting live on the platforms at any time on an ad-hoc basis. For the purposes of this setup, you need to tick the last option, Custom Live Streaming Service as this is for a scheduled live-streamed webinar.
Set up a scheduled live stream on YouTube
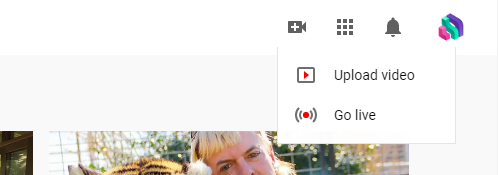
Go to YouTube, click the camera+ icon in the top right and click Go live from the drop-down options.
Note: If you do not already have a YouTube channel you will be asked to create one. This will need verifying via phone/text message.
Here you will be asked to enter the details of your new stream.
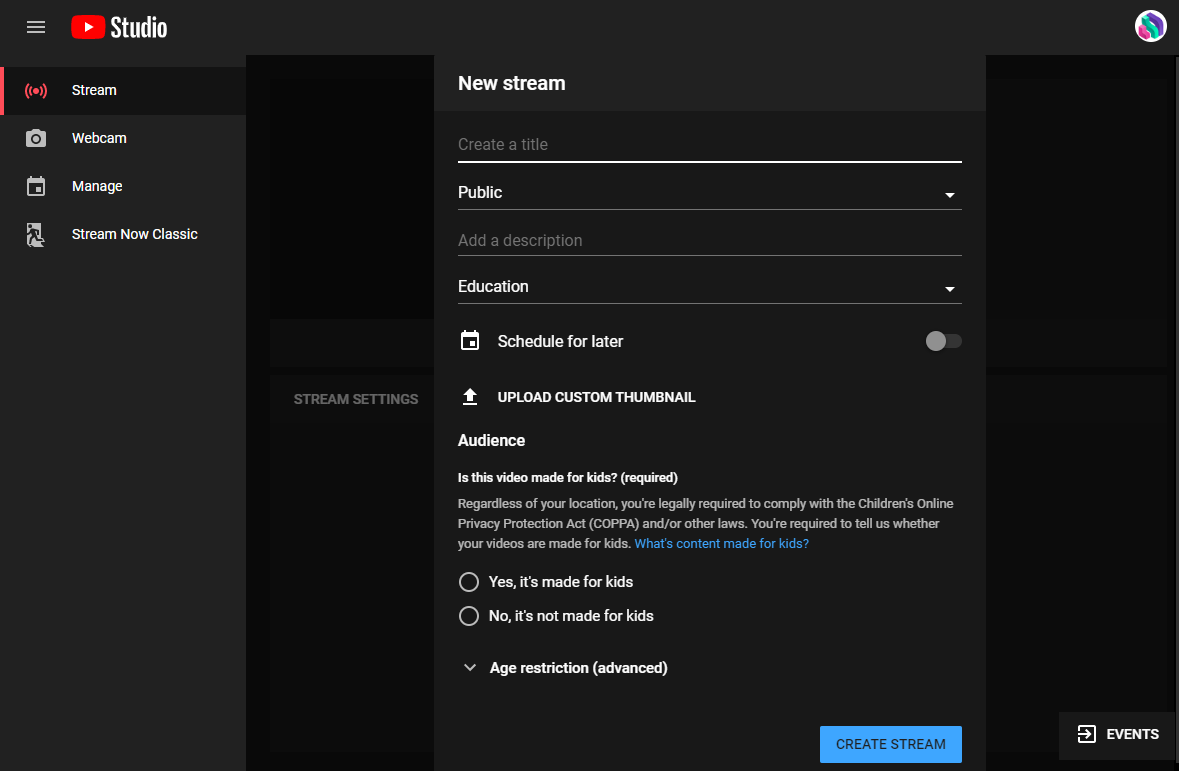
- Title – The name of the webinar
- Visibility:
- Public – It is searchable by anyone on YouTube and appears on your channel
- Unlisted – Only people with the direct link will find it. (This is the option we have used for our webinars as we want
people to register in advance. We then switch it to Public once the event has passed and it has been transcribed)
- Private – Only you can view it
- Category – Choose what type of content it is e.g. Educational
- Description – What is the webinar about? This appears under the video
- Schedule for later – Toggle this to yes and set the date and time of your webinar
- Upload a custom thumbnail – If you have created a holding slide or have a suitable image it can be added. The size needs to be 1280 × 720 pixels
- Audience – Select if the webinar is specifically made for children or not
Click Create Stream
This will load the control room where you can set the webinar to Go Live and moderate the live chat. For now, we need the:
- Stream key (the unique ID for your feed – do not share this with anyone) and,
- Stream URL (e.g. rtmp://a.rtmp.youtube.com/live2).
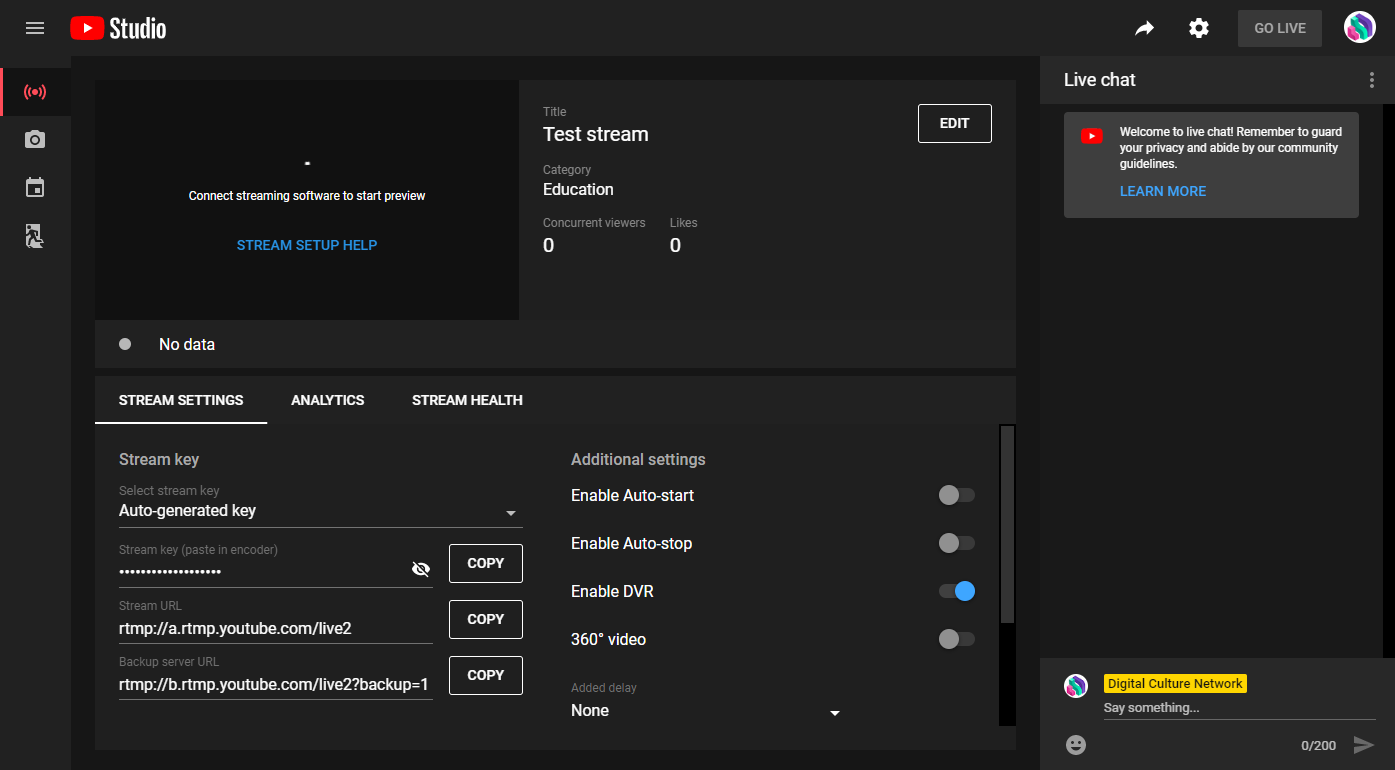
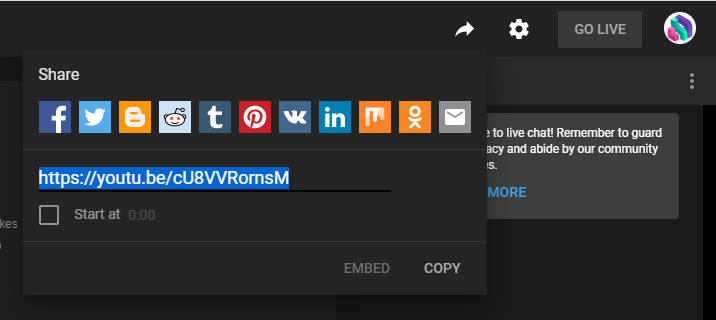
You will also need the shareable link for the YouTube live stream. Click the arrow icon in the top right and copy the URL.
Setting up a scheduled meeting in Zoom
Over on Zoom, schedule a meeting for the date and time required. From the Upcoming Meetings page, click on your new meeting.
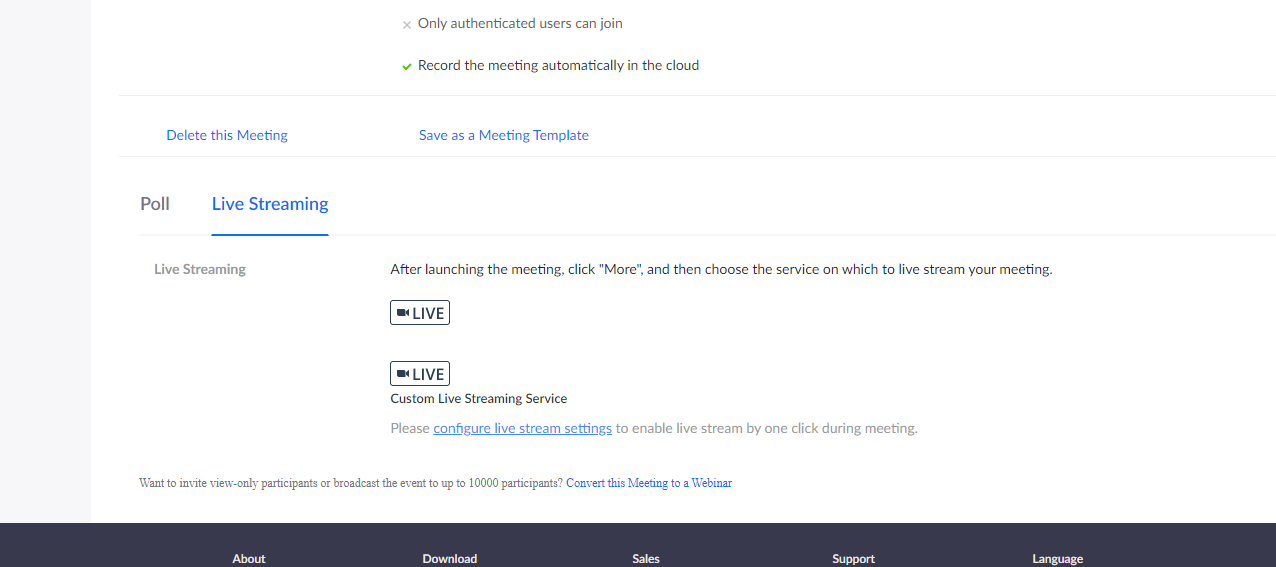
Scroll down to the bottom and click the Live Streaming tab. Underneath the LIVE icon, click the link to configure the stream settings.
The popup window will ask you to paste in the settings we copied from YouTube:
- Stream URL
- Stream key
- Shareable link

Note: If you have browser autofill settings switched on for login, it may paste in your email and password. Clear these before pasting in the settings from YouTube.
Going live
When your webinar date and time comes around, get Zoom up and running 15 minutes before you are due to go live on YouTube. Click Start This Meeting on Zoom. At this point, only you can see the video feed so you can test out sharing your screen and if your microphone is working correctly.
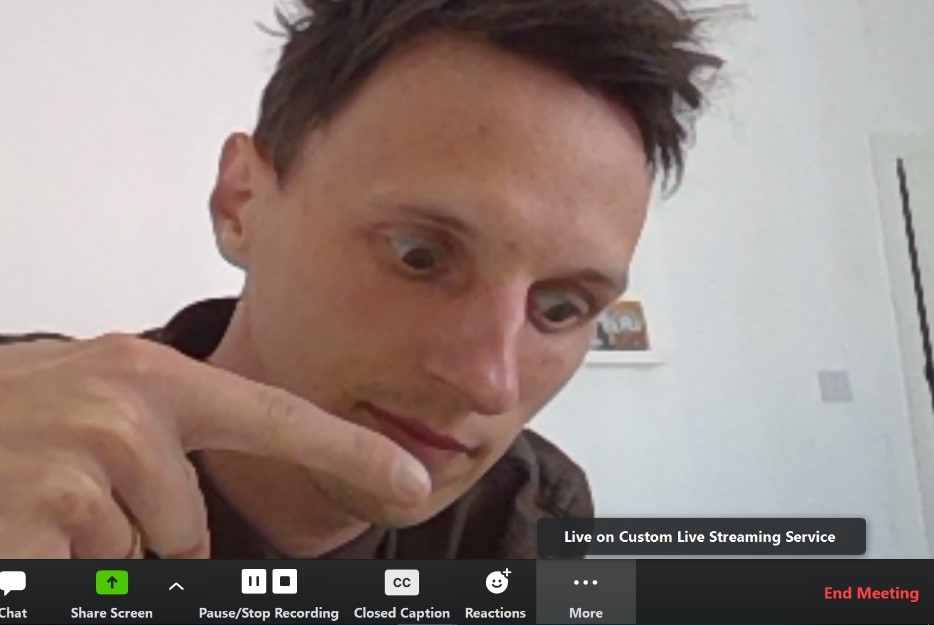
When you are happy with everything, click on the three dots/More button in the Zoom options bar and click Live on Custom Live Streaming Service. This will start sending the stream to the YouTube control room. The audience cannot see you yet!
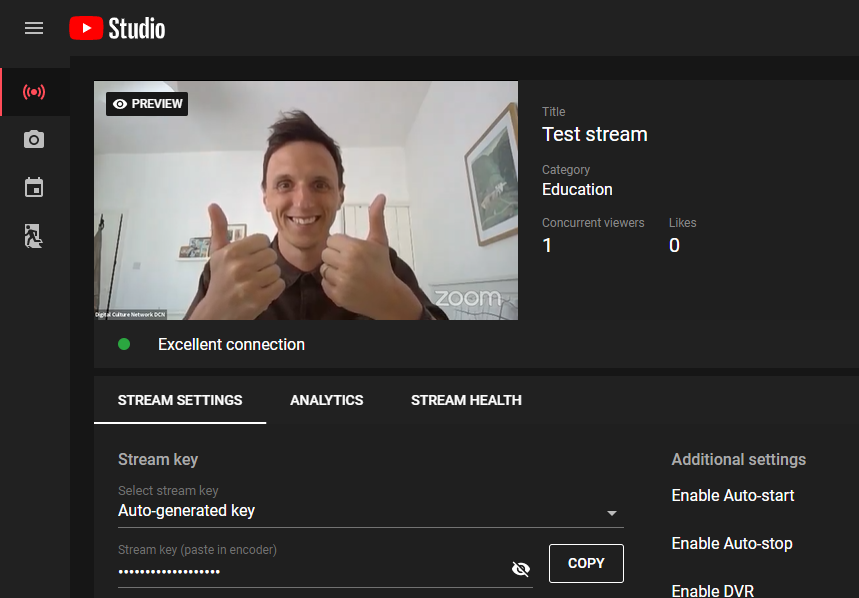
The Zoom video feed will then appear in the YouTube control room.
Ideally, you would have a second person looking after the YouTube control room. It is operated via the website so no need to use the same device or be in the same location.
Note: There is a lag of about 18 seconds between what you are doing on Zoom and what appears on YouTube.
Meanwhile, this is what users see when they are waiting on YouTube:
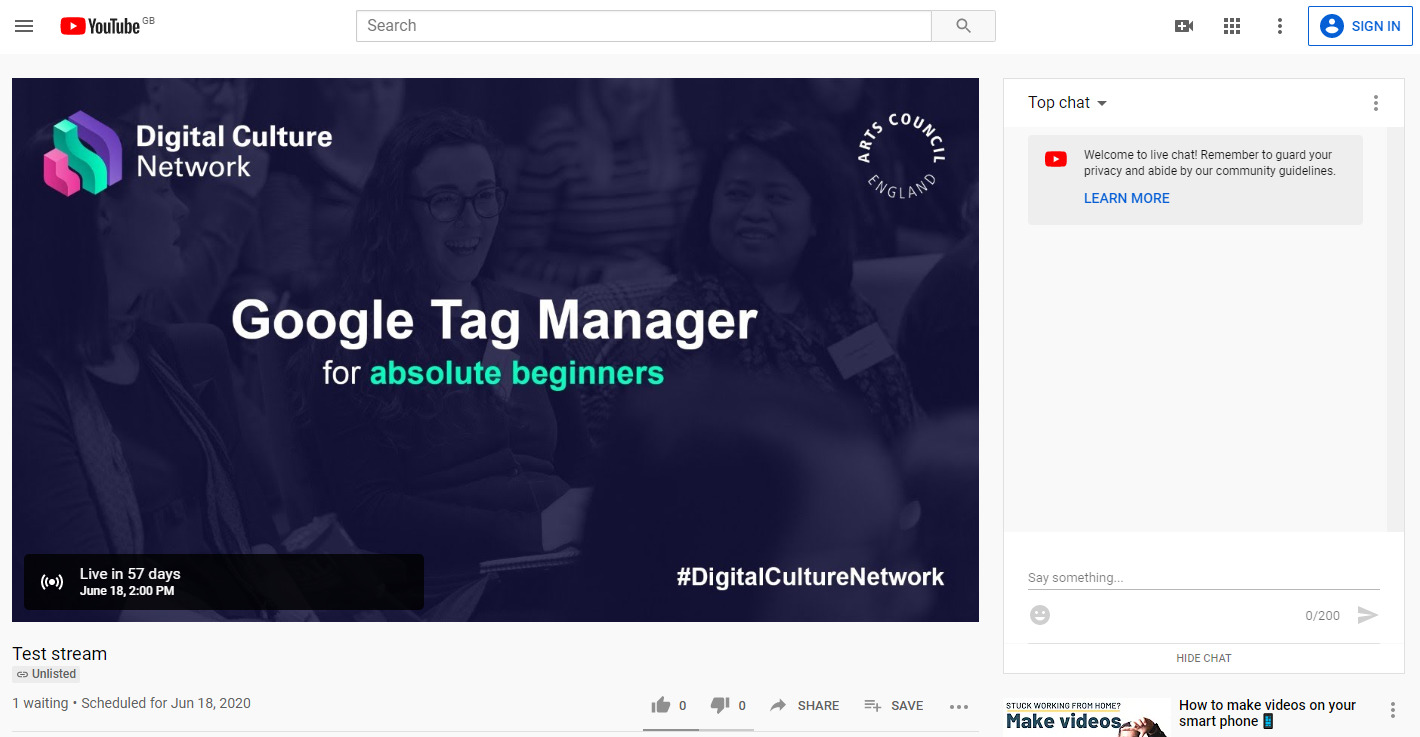
Note: This is why a good thumbnail image is important!
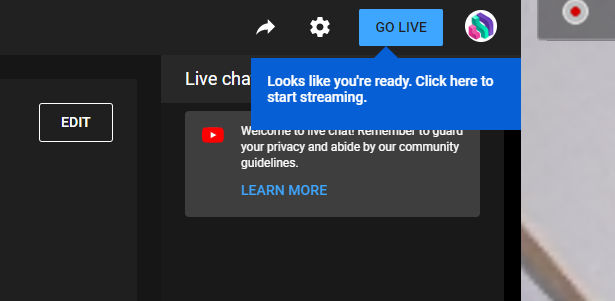
When you’re ready, get your assistant to press GO LIVE in the YouTube control room.
Your attendees will now be able to see the live broadcast on YouTube:
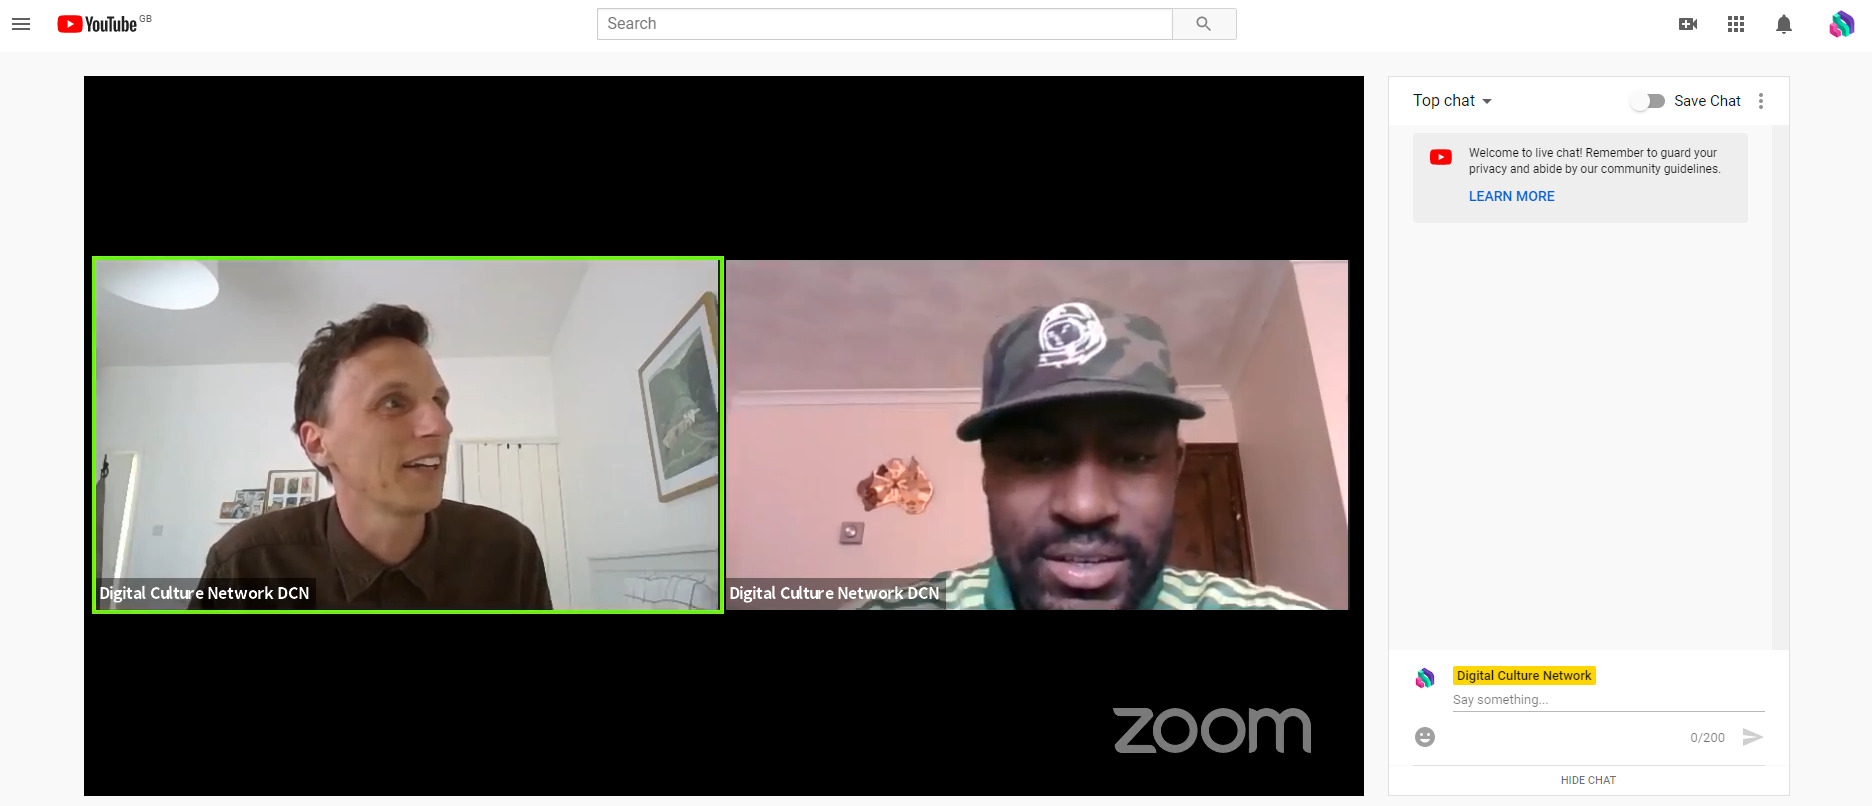
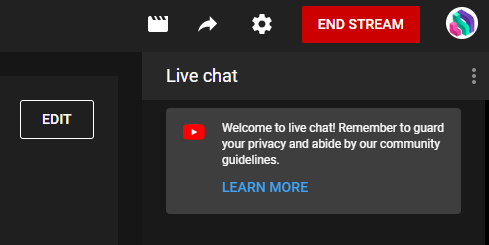
Any messages that are put in the chat by users are visible in the YouTube control room where your assistant can delete and ban any comments if necessary. You can also send replies as your channel.
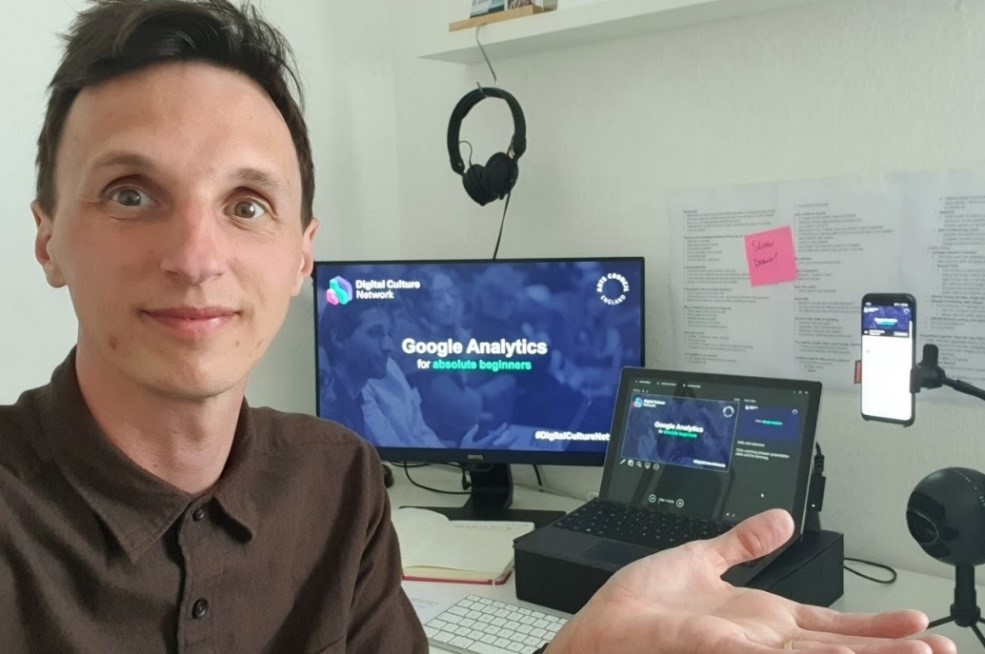
You might find it helpful to use a phone with the YouTube stream on it (with the volume off) so you can keep track of any comments in the live chat and respond to them as part of the webinar content. Remember, there is an 18 second lag between what your audience is seeing and what you are doing on Zoom.
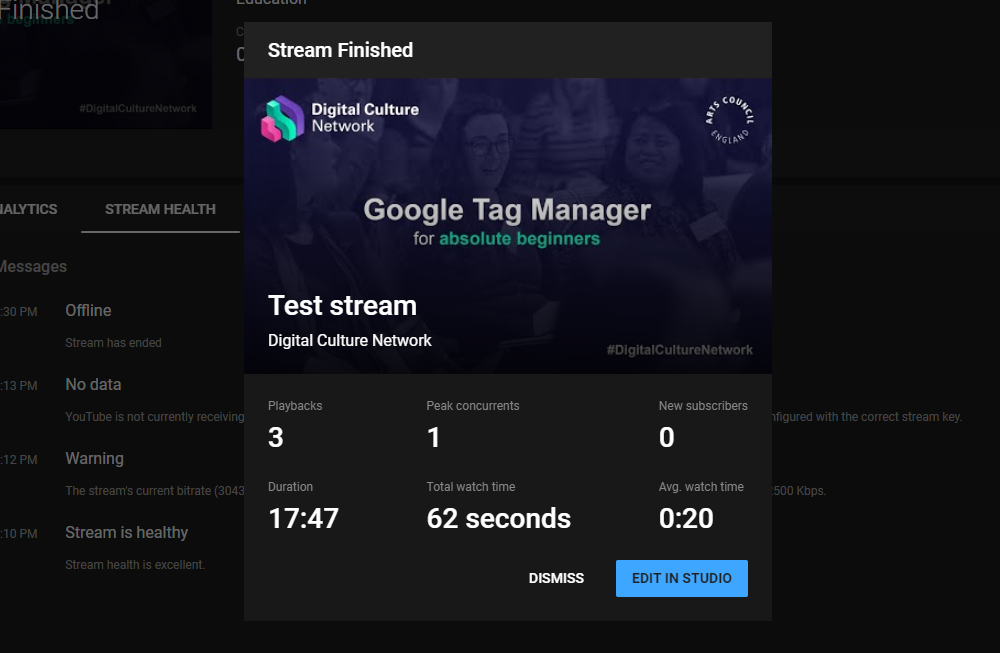
When your webinar is finished, click the END STREAM button in the YouTube control room. You can then leave the Zoom meeting.
The recording will automatically save to YouTube studio where you can edit the video, add extra information such as description and tags, and (importantly) transcribe the audio.
Congratulations! You’ve just streamed a fantastic webinar to YouTube. Sit back, relax and have a nice cup of tea.
What’s next?
The Digital Culture Network is here to support you and your organisation. Our Tech Champions can provide free 1-2-1 support to all arts and cultural organisations who are in receipt of, or eligible for, Arts Council England funding. If you need help or would like to chat with us about any of the advice we have covered above, please get in touch. Sign up for our newsletter below and follow us on Twitter @ace_dcn for the latest updates.

